

ODM Custom Bolts A Complete Guide to Selection and Use
2026-09-27
Standard bolts have a way of becoming the loudest part of a design when they fail—usually at the worst possible moment. That's why ODM custom bolts aren't just a luxury; they're a strategic choice for engineers who need predictable performance under specific loads, materials, and environments. This guide walks you through the real-world decisions behind selection and use, from thread geometry to coating trade-offs, without the sales fluff. Peak Fasten brings practical, field-tested expertise to the conversation, because we've seen too many good designs compromised by a bolt that was almost right. Ready to get it right the first time? Let's dig in.
Deciding What Your Custom Bolt Really Needs to Do
Before you even glance at thread pitches or head styles, sit down and map out the exact job your custom bolt will perform. Will it be torqued once and never touched again, or does it need to survive repeated assembly and disassembly? Think about the materials it will clamp together—dissimilar metals can invite galvanic corrosion, while soft plastics may require a wider bearing surface under the head. Write down every load direction: pure tension, shear, vibration, or a messy combination of all three. This isn't about over-engineering; it's about giving the bolt a clear job description so the next decisions make themselves.
Once you know the primary function, drill into the environmental realities. Is the bolt living in a salt-spray coastal zone, inside a hot engine bay, or under constant chemical washdowns? Temperature swings can change clamping force if thermal expansion rates differ between the bolt and the joined parts. Moisture and oxygen will attack unprotected threads long before the shank fails. These conditions are rarely listed on a drawing, but they determine whether you need a specific plating, a passivation layer, or a different alloy altogether. Treat the environment as a design input, not an afterthought.
Finally, ask what failure looks like—and what you're willing to pay to avoid it. A bolt that snaps during installation is an annoyance; a bolt that loosens on a rotating assembly can destroy machinery or injure someone. Decide on your acceptable margin: does this fastener need to hold at 80% of its proof load, or is it a lightly loaded cover screw where cost matters more than ultimate strength? By defining the consequences of getting it wrong, you create a priority list that guides material selection, thread engagement, and even the choice between a standard hex head and something more exotic. A custom bolt is only as good as the clarity of its purpose.
Picking Materials That Won't Quit in the Field
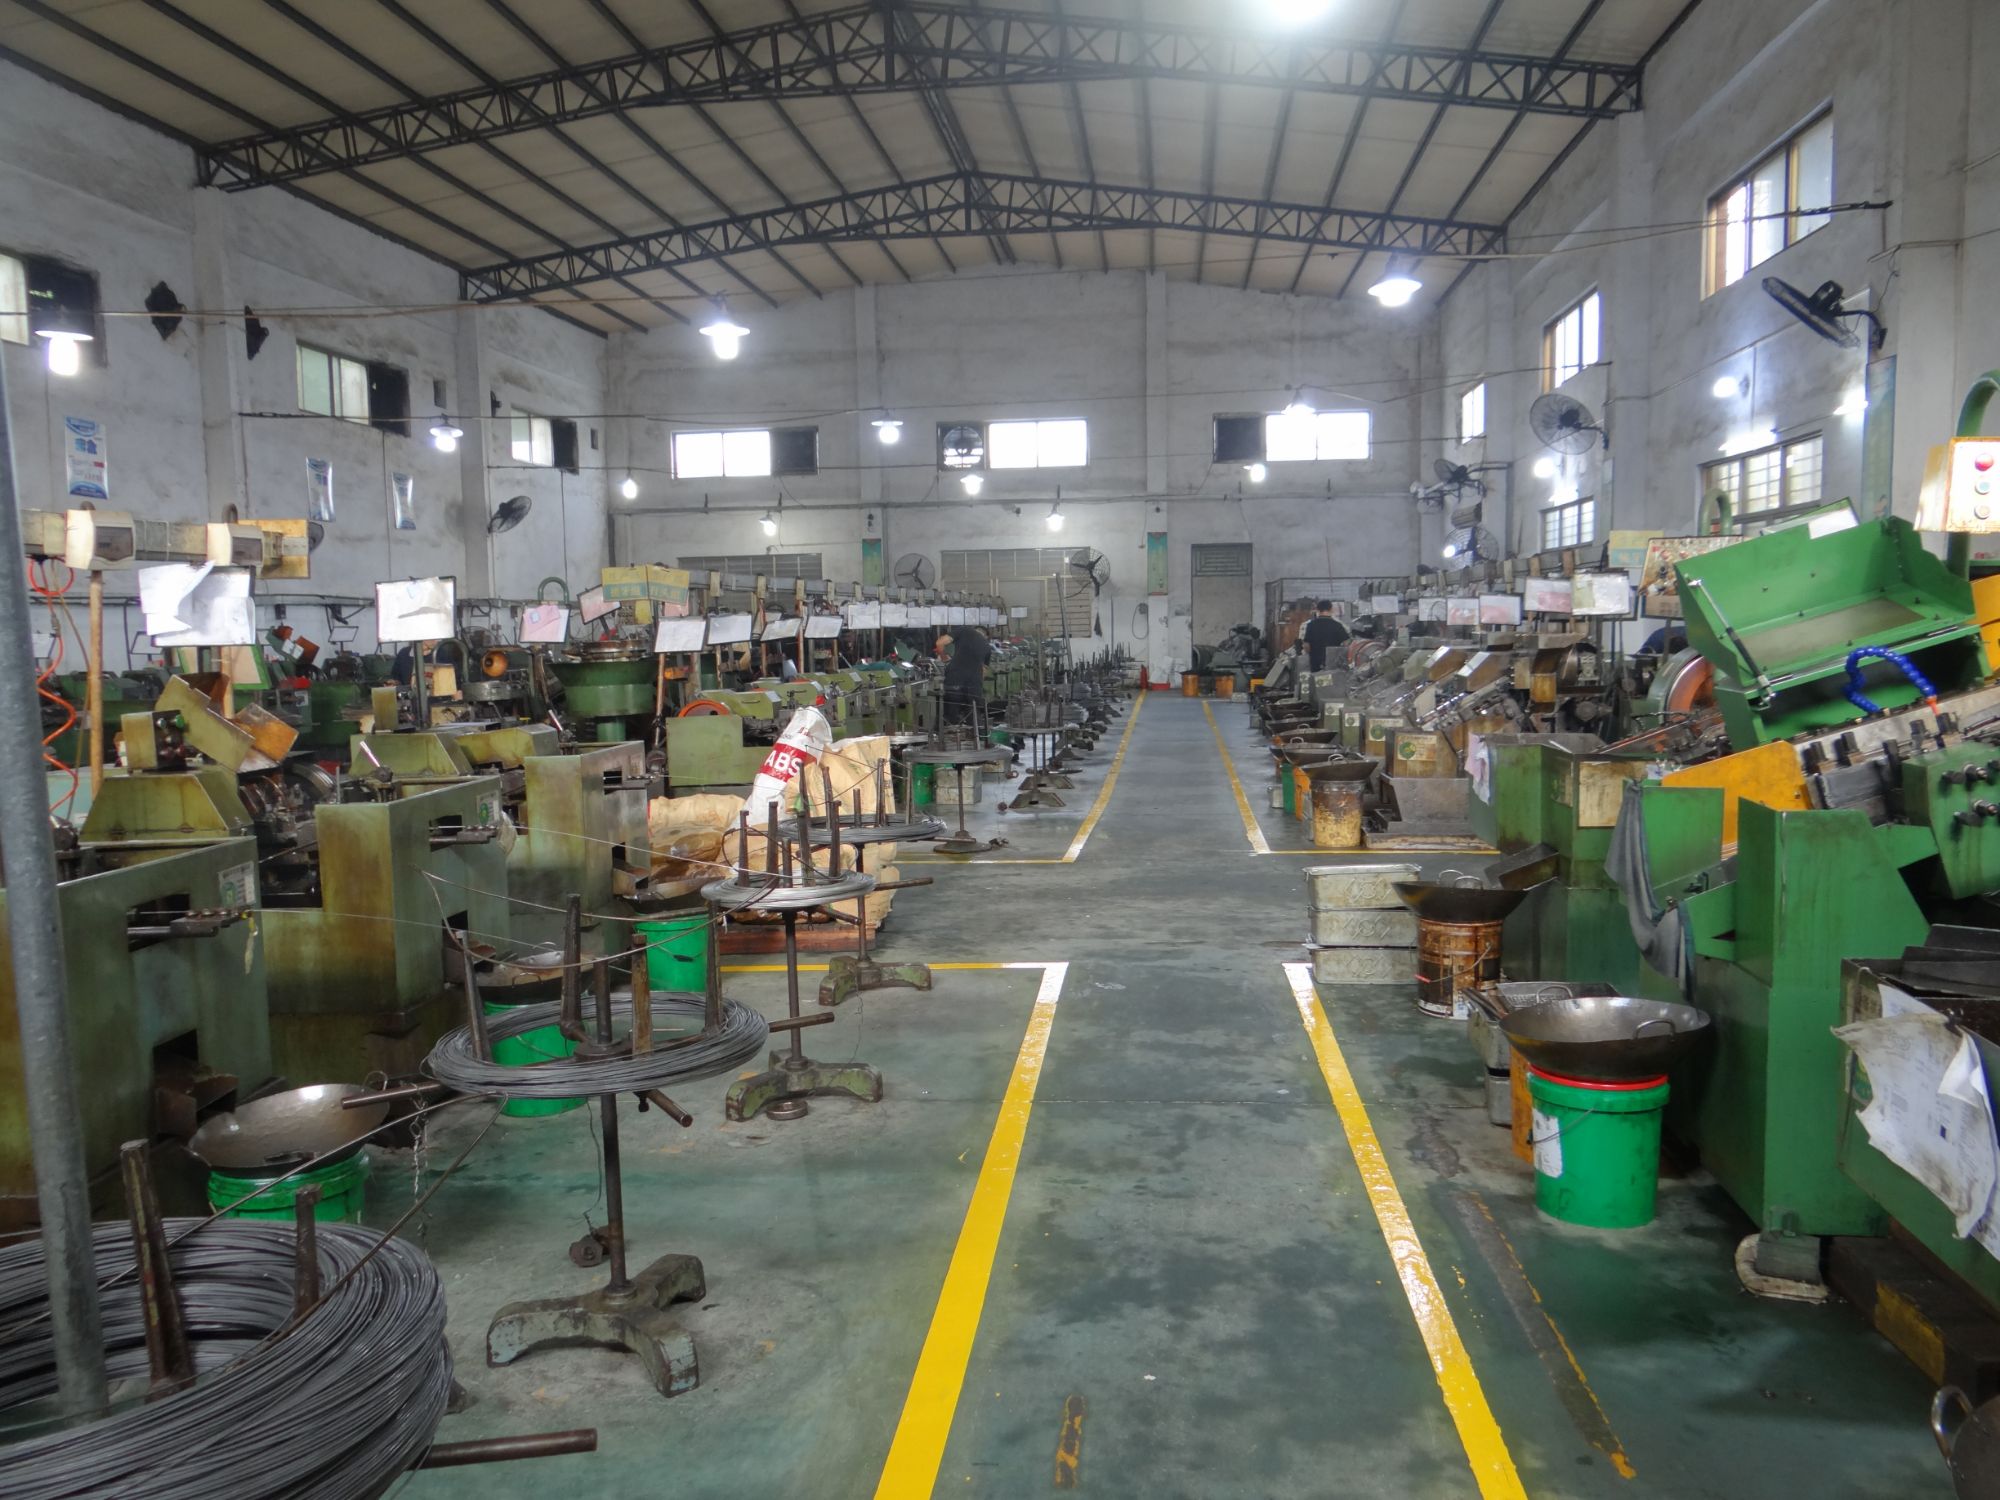
Field failures rarely start with a single dramatic crack—they begin with tiny, repeated insults that most spec sheets never mention. Sunlight chews through polymers, grit works its way into seals, and temperature swings loosen every fastener you thought was tight. If you're choosing materials from a datasheet alone, you're already behind. The real question isn't whether a material meets a lab standard, but whether it can shrug off the messy, unpredictable abuse of a real job site.
Look for materials that have earned their reputation through years of unglamorous use, not just accelerated testing. Glass-filled nylon may look great on paper, but a simple acetal bushing often outlasts it when dust and moisture are constant companions. Pay attention to how a material fails—does it crack, creep, or corrode? A slow, visible wear pattern gives you time to plan maintenance; a sudden snap leaves you stranded. And don't ignore the fasteners and adhesives. A panel made from the toughest alloy is only as good as the rivets holding it in place.
Finally, trust the people who fix things. Ask field technicians which parts they replace most often, and you'll get a short list of materials that truly don't belong outdoors. That feedback loop is worth more than any lab certificate. Choose materials with a history of quiet reliability, and your equipment will keep working long after the warranty expires—not because it was overbuilt, but because it was built honestly for the world it actually lives in.
Making Sense of Tolerances, Threads, and Finishes
Tolerances are not just numbers on a drawing—they shape how parts fit, wear, and fail. Start by asking whether a dimension is functional or cosmetic. A bearing journal might need a tight IT6 band, while a bracket hole can drift half a millimeter without consequence. The real mistake is over-tolerancing everything because it looks disciplined. That quietly inflates cost and lead time.
Threads carry their own quiet complexity. A 1/4-20 UNC and an M6x1.0 are not interchangeable even if they appear close. Pay attention to thread engagement depth and class of fit. Too loose and fasteners back out under vibration; too tight and assembly becomes a fight. Plating or coating adds predictable thickness—call it out before tapping, not after.
Surface finish is where drawings often hide the truth. A 32 microinch Ra may look smooth to the eye, but it still has peaks that affect sealing or sliding. Specify roughness only where it actually matters, and match it to the manufacturing process. Turned, ground, and milled surfaces each leave their own fingerprint, and confusing them can ruin a perfectly good part.
Spotting Red Flags Before You Sign Off on Samples
Most sample sign-offs fall apart because someone gave the piece a quick glance instead of a slow, methodical pass. Put the spec sheet and the approved reference sample side by side on a flat table. Measure the key points again: shoulder width, chest or waist, sleeve length, and hem drop. If the numbers drift by more than the tolerance your factory agreed to, stop there. Don't smooth the fabric and hope it reads better in a photo. A quarter inch in the wrong place changes how the whole garment sits on a body, and that becomes your problem once you approve it.
Then get physical with the sample. Run a thumb along every seam allowance and feel for ridges, skipped stitches, or places where the fabric pulls tight. Flip the collar, open the placket, turn the cuffs inside out. Check the back side of buttonholes: if the thread is loose or the bartack is missing, buttons will tear through in a month. Zip and unzip the closure three times with your eyes closed. If you feel resistance, the slider or the tape is off. Compare the color in daylight, under LED, and next to a window at late afternoon. If the shade shifts too much in one of those, the dye lot is unstable or the fabric was substituted.
Finally, turn the whole piece inside out. The interior tells you more than the exterior ever will. Look for wandering topstitching, knots left long, raw edges that were not overlocked, or a lining that is shorter than the shell and will pull at the hem. Read the care label against your tech pack: fiber content, country of origin, and washing symbols need to match exactly. If the label is sewn on crooked or the ink smudges when you rub it with a damp finger, the factory cut corners on trims. And trust your nose. A sharp chemical smell or a heavy starch feel means the sample was rushed through finishing. If you spot three small red flags, request a corrected sample. Signing off on almost right is how you end up with a container full of wrong.
Building a QC Checklist Worth Its Salt
Most quality control checklists fall apart because they try to cover everything and end up capturing nothing. The ones that actually work start with a hard look at where mistakes keep slipping through—not a generic list of best practices pulled from a template. Sit with the team that handles the work daily, ask them what they dread seeing, and turn those pain points into concrete, checkable items. If a line on the checklist can't be answered with a clear yes or no, it doesn't belong there.
A solid checklist also needs a built-in reason to be taken seriously. Tie each item to a consequence: a missed check means a specific rework step, a flagged review, or a short note explaining why it was skipped. This removes the temptation to just tick boxes for the sake of appearance. And keep the list short enough to finish in one sitting—if someone has to scroll through three pages, attention dies by item seven. Rotate items every few weeks based on recurring defects, so the checklist stays alive instead of becoming wallpaper.
Finally, test the checklist on real work before rolling it out. Hand it to a new team member and watch where they hesitate, misread, or skip steps. That friction tells you more than any meeting ever will. Adjust the wording until someone with minimal context can run through it without asking for help. That's when you know it's worth the paper it's printed on—or the screen it lives on.
Avoiding the Assembly Mistakes That Come Back to Haunt You
Many assembly errors don't announce themselves at the workstation. A connector that isn't fully seated, a screw torqued just shy of spec, a cable routed too close to a sharp edge—these slip through final inspection without a whisper. They only make themselves known weeks or months later, after the product has shipped to a customer or been installed in the field. The real cost isn't the rework; it's the lost trust and the service call that could have been prevented.
The trouble with assembly mistakes is that they compound. A misaligned part forces the next component to compensate, which puts stress somewhere the original design never intended. By the time the failure shows up, the root cause is buried under layers of seemingly unrelated symptoms. Tracing it back to a single moment on the line requires patience and a clear record of exactly how each unit was put together.
The best way to avoid these hauntings is to make correct assembly the path of least resistance. Jig and fixture design, color-coded connectors, simple visual cues—these do more than any sign-off checklist. When the physical setup guides hands toward the right orientation and torque, mistakes don't just become less likely; they become hard to make without noticing. That's the difference between building something that works today and something that still works five years from now.
FAQ
It means the manufacturer supplies or adapts an existing bolt design rather than starting from a blank sheet. The factory owns the base tooling and engineering data, so you get a faster, cheaper route to a part that fits your assembly, as long as one of their platforms can be modified to meet your load, finish, and dimensional requirements.
Start by checking whether changing the head style, length, thread pitch, or coating on an existing model gets you within tolerance. If yes, ODM makes sense because tooling is already proven and lead times shrink. Go fully bespoke only for unusual geometries, extreme strength grades, or proprietary features that cannot be machined from a standard blank.
The biggest ones are ignoring galvanic corrosion between the bolt and the clamped material, choosing a high-strength steel without considering hydrogen embrittlement during plating, and assuming room-temperature tensile ratings hold at elevated operating temperatures. Ask for material certs and test coupons if the joint sees moisture, salt, or thermal cycling.
Yes, when the specification is tight. The key is not the label but whether the manufacturer controls heat treatment, thread class, underhead fillet, surface roughness, and plating thickness. Many ODM suppliers can match or exceed OEM performance if you give them the actual load and environment instead of just a part number.
Send a dimensional drawing with tolerances, the relevant standard like ISO or DIN if any, required strength grade, torque or clamp load target, operating environment including temperature and exposure, annual volume, and any special testing such as salt spray hours or proof load sampling. This lets the supplier pre-select material and process before quoting.
Because dimensionally correct is not the same as mechanically correct. Common failure drivers are too few engaged threads in a tapped hole, an underhead radius that creates a stress riser, vibration loosening due to missing locking features, or installation with an uncalibrated torque wrench. The drawing must capture functional details, not just geometry.
It can be, but only with controlled sourcing. Require full material traceability, batch-specific mechanical test reports, and preferably third-party inspection for high-risk joints. If the supplier cannot provide that documentation, keep ODM bolts for jigs, covers, brackets, or low-consequence fastening points where a single failure is easy to detect and replace.
Modified standard parts often ship in two to six weeks because the base tooling exists. New tooling for a unique head or thread form usually takes six to twelve weeks. Add another two to four weeks if you need special plating, baking after coating to reduce hydrogen risk, or independent lab testing before delivery.
Conclusion
Pin down the exact job your custom bolt has to perform before chasing dimensions or coatings. A fastener that looks right on paper can still fail if it is not matched to the load direction, vibration profile, or mating surface. Once the mechanical demands are clear, material selection becomes a question of survival rather than preference—stainless steels handle corrosion, alloy steels take high tensile stress, and specialty alloys earn their cost only when temperature or chemical exposure demands them. Tolerances and thread fit are not afterthoughts; a rolled thread with a controlled pitch diameter and a finish that actually bonds or prevents galling can mean the difference between a secure joint and a field failure. Too many teams settle for a generic finish, then wonder why bolts seize or rust within months.
Before approving any pre-production samples, check for the quiet red flags: inconsistent head marking, burrs in the drive recess, plating that flakes at the thread root, or a certificate that does not match the heat lot. A worthwhile QC checklist goes beyond measuring length and diameter—it should include thread gauge fit, surface roughness, hardness at the specified location, and torque-to-failure on a sample basis. When it comes to assembly, think like a line worker. Wrong driver engagement, missing lubrication on high-friction threads, cross-threading from rushed alignment, or mixing same-size bolts with different strength grades can all come back as warranty claims or safety audits. Building the selection process around these real-world failure modes is what keeps custom bolts reliable long after the purchase order is signed.
Contact Us
Contact Person: Mason Lv
Email: [email protected]
Tel/WhatsApp: +86 13027998452
Website: https://www.peakfastentech.com